Installation guide
Install your dash cam in 15 minutes.
No garage, no specialist, no cut wires. A plug-in dash cam fits behind your mirror in about a quarter of an hour. This guide walks you through it end to end — the five steps, where to mount, how to power it, how big a memory card to buy, and the legal bits to know.
NO TOOLS
~15 MIN
ANY 12V CAR
Why the install matters
A bad install is worse than none.
A camera dangling on a loose cable blocks your view, pops off in the heat, and films the headliner instead of the road. The day you actually need the footage is the worst day to find out it was pointed wrong.
A cable trailing across the dashboard is a distraction and, in many places, a fail at inspection. A camera mounted too low sits in your sightline; mounted outside the wiper line, it films a rain-blurred smear in the one weather where you need it most.
Done right, it disappears: mounted high and central, cable hidden in the trim, lens on the road. Fifteen quiet minutes now is what makes the footage worth having later.
Before you start
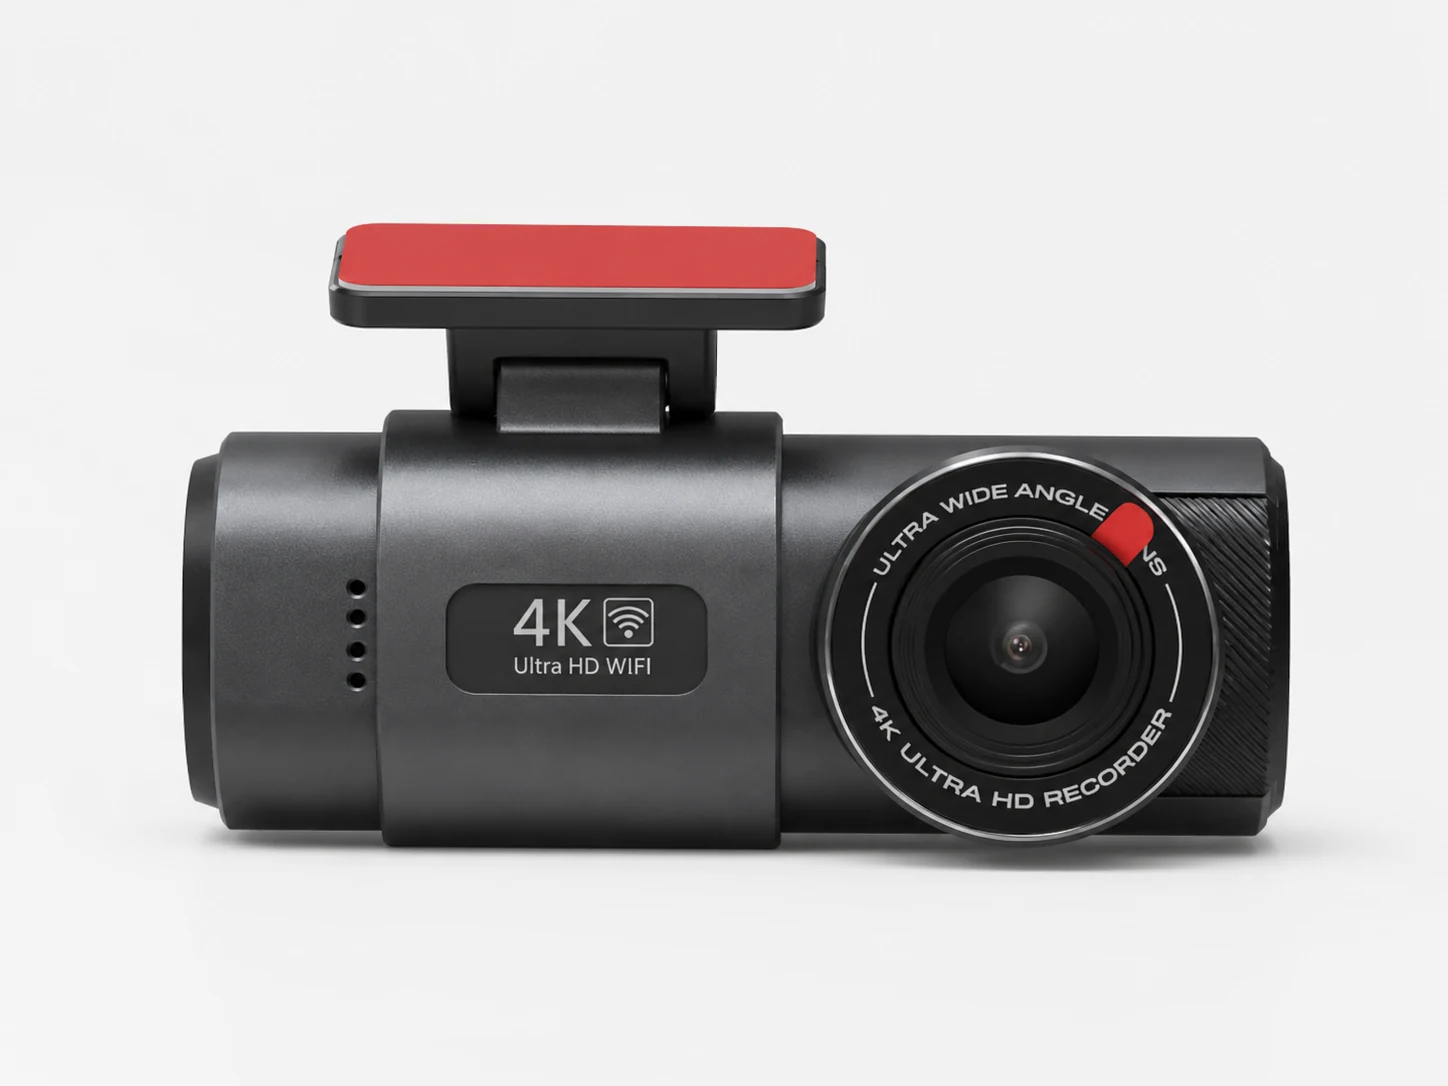
What’s in the box — and what to add.
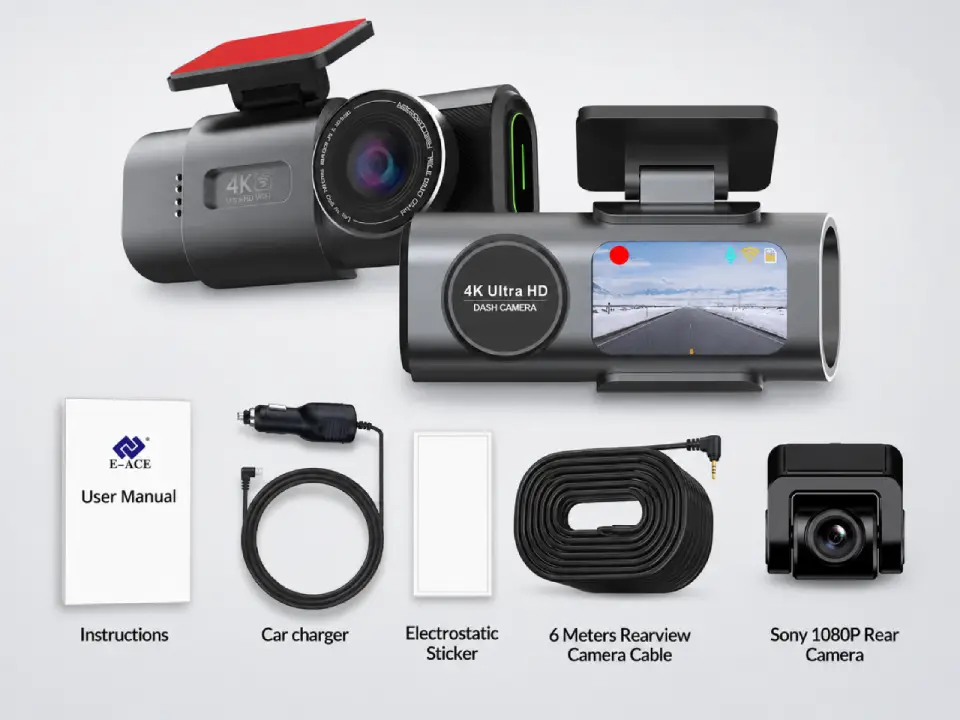
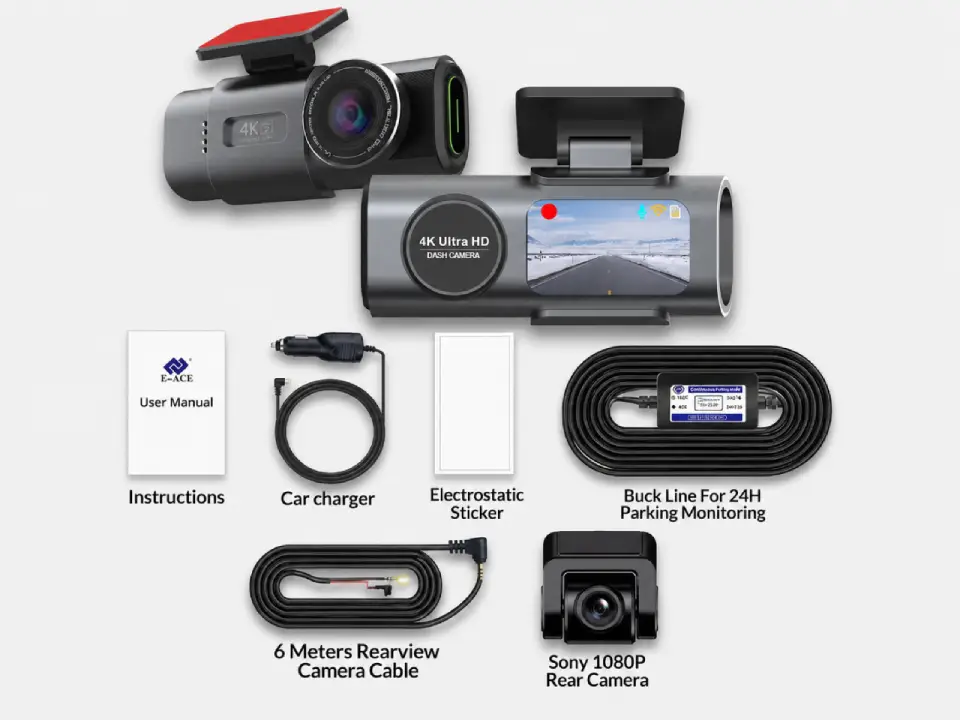
Open the box and lay everything out first — it takes a minute and means you won’t be hunting for the cable halfway through. Here is what comes in the kit, and the one or two things you’ll want to add.
- The camera + mount — adhesive or electrostatic sticker, pre-fitted
- The 12V power cable — long enough to hide around the windscreen
- A microSD card (add) — Class 10, 64–128GB; required, not always included
- A hardwire kit (optional) — only if you want 24/7 parking mode
That’s it. A plug-in fit needs nothing from a toolbox — the hardwire route is the only one that touches your fuse box.
Storage
How big a card do you need?
Pick a microSD size to see roughly how much footage it holds before the loop starts overwriting. Tap a card below.
32 GB
CONTINUOUS LOOP RECORDING
4K FRONT~4 hours
4K FRONT + REAR~2 hours
FULL HD 1080P~16 hours
64 GB
CONTINUOUS LOOP RECORDING
4K FRONT~8 hours
4K FRONT + REAR~4 hours
FULL HD 1080P~32 hours
128 GB
CONTINUOUS LOOP RECORDING
4K FRONT~16 hours
4K FRONT + REAR~8 hours
FULL HD 1080P~64 hours
256 GB
CONTINUOUS LOOP RECORDING
4K FRONT~32 hours
4K FRONT + REAR~16 hours
FULL HD 1080P~128 hours
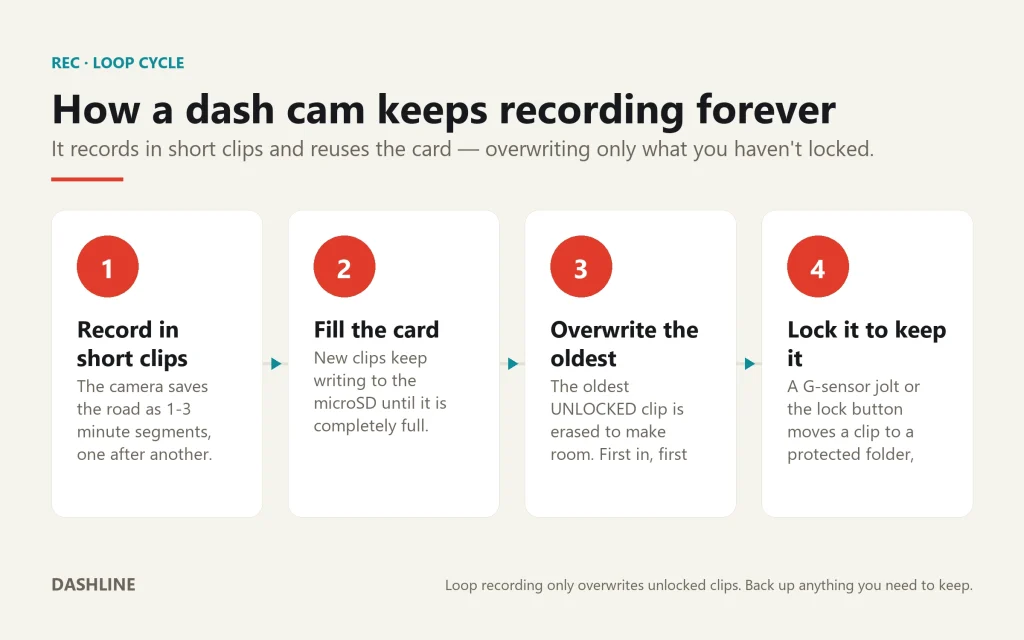
Approximate — real time depends on resolution, frame rate and bitrate. With loop recording the card never truly fills up: the oldest unprotected clips are overwritten, so a bigger card simply keeps more history. 64–128GB suits most drivers; go 256GB if you run front + rear or want parking footage to last.
The 5 steps
From box to recording, in order.
Follow these in order and a plug-in fit takes about fifteen minutes. Steps one to three are the same whichever way you power it — the choice between plug-in and hardwire comes at step four.
01
Insert the microSD card
Slide a formatted card into the slot until it clicks. The camera can’t record a thing without it, so do this first and you won’t forget.
02
Stick the mount behind the mirror
Clean the glass with the wipe provided, peel the backing, and press the mount high and centred — just behind the rear-view mirror, inside the wiper-swept area. Hold it firm for thirty seconds.
03
Tuck the cable into the trim
Run the cable up into the headliner, across to the A-pillar, then down to the power source. Push it gently under the soft trim with a fingertip or a plastic pry tool.
04
Connect the power
Plug into the 12V (cigarette) socket for an instant fit — or wire it to a fuse for permanent, hidden power and parking mode (compare both below).
05
Set the time and format the card
Power on, set the date and time so your footage is stamped correctly, then format the card in the camera. Take a short test drive and play back a clip to confirm the angle.
Choose your power
Plug & play, or hardwire?
Two ways to power the camera. Tap to compare — pick plug-and-play for simplicity, or hardwire for 24/7 parking protection.
Easiest
Plug & play (12V socket)
TIME
About 10 minutes, no tools.
POWERS
Records whenever the engine is on (or the socket is live).
PARKING MODE
No — the socket cuts power when you switch off.
Best if you just want road recording and a fit you can undo in seconds.
For 24/7
Hardwire (fuse box)
TIME
About 20–30 minutes, plus finding the right fuse.
POWERS
Constant power, so the camera can watch the parked car.
PARKING MODE
Yes — needs the hardwire kit and a switched/constant fuse.
Touches your fuse box — comfortable with fuses, or have an installer do it. Cut-off protects your battery.
Placement
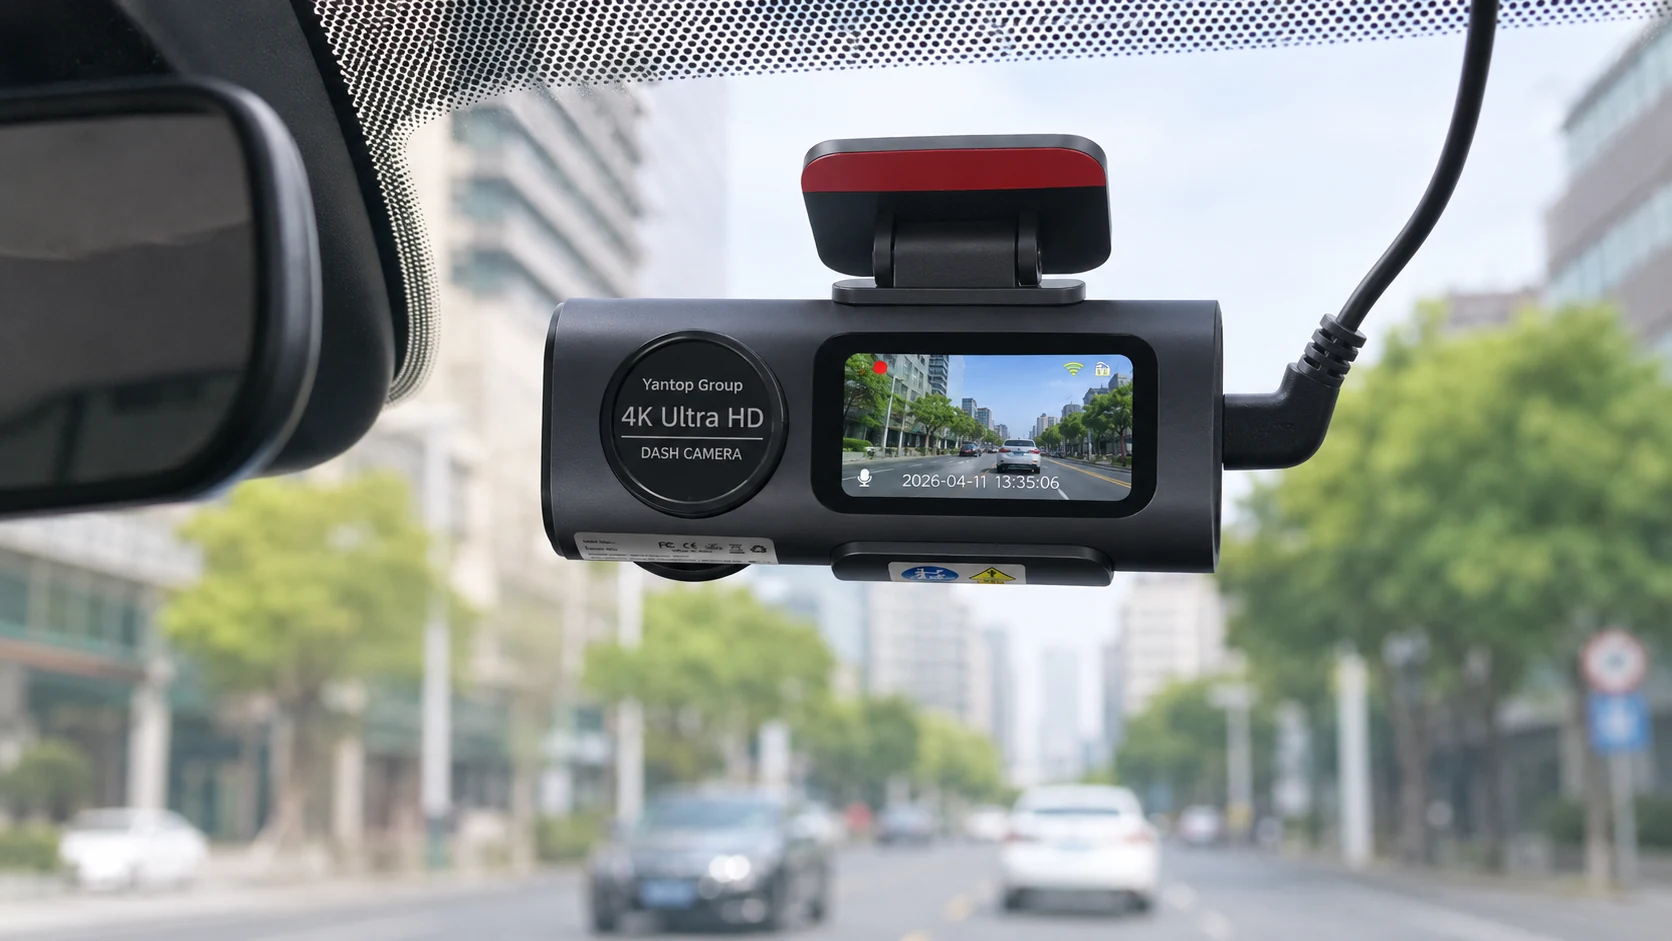
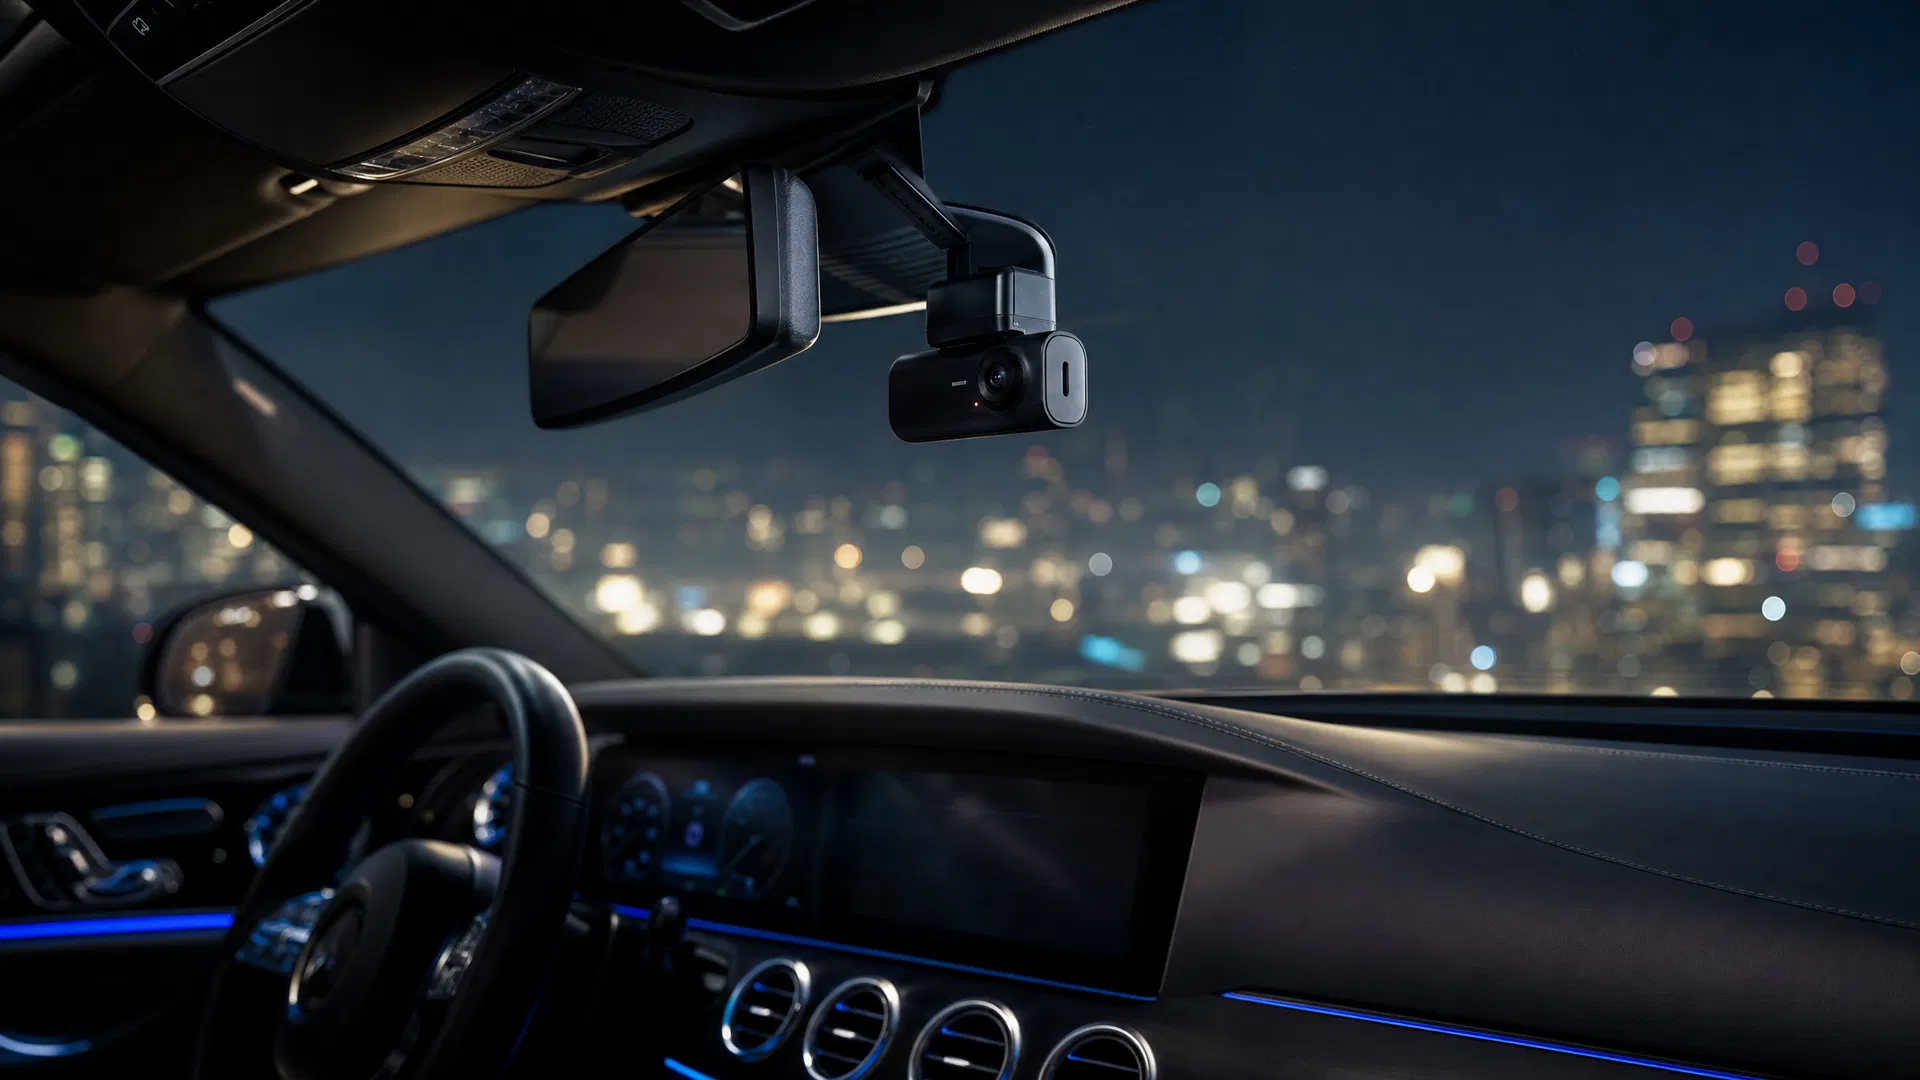
Mount it behind the mirror.
Centre the lens on the road and tuck the body right behind the rear-view mirror, as shown here. High and central gives the widest, straightest view — and keeps the camera out of your eyeline so it never becomes a distraction.
Keep it inside the area your wipers clear, so rain never blurs the shot, and leave a little space above the mirror so you can still reach the controls. Adding a rear camera? Mount it high and level on the rear glass and route its cable along the same headliner path — our 4K front and rear guide covers a two-camera setup in detail.
Tip: hold it in place with tape first and check the live view before you commit the sticker.
Hide the cable like a pro.
The difference between a tidy install and a messy one is all in the cable run. None of it needs tools — just patience and a fingertip to tuck the cable into the soft trim. Work from the camera toward the power source.
HEADLINER
Start at the top
Push the cable up into the soft headliner trim above the mirror — it tucks in with just a fingertip, no tools.
A-PILLAR
Mind the airbag
Run it down the A-pillar, but route around the airbag, not under it. Never trap a cable where an airbag deploys.
UNDER TRIM
Follow the edge
Continue along the door-seal rubber and under the dash trim toward the socket or fuse box.
SLACK
Leave a little slack
Don’t pull the cable drum-tight. A small loop behind the mirror lets you re-aim the camera later.
TEST
Test before you tidy
Power on and check recording before pushing everything home — far easier to fix now than after.
CARD
Format in-camera
Always format the microSD in the camera, not a computer, so the files write cleanly from the first drive.
Before you drive off
Mind the legal bits.
- Don’t block your view. Placement rules vary by country and region — most require the camera not to obstruct the driver’s field of vision. Tuck it behind the mirror and you’re usually fine, but check your local rules.
- Hardwiring touches the fuse box. It’s straightforward if you know your fuses, but get it wrong and you can blow a circuit. Not sure? A workshop will hardwire it in minutes.
- Tell people they’re filmed. If you add a rear or cabin-facing view — carrying passengers, or driving for work — local privacy rules may ask you to let them know.
- Footage is evidence, not a guarantee. A dash cam records what happened; it doesn’t prevent it, and plate readability still depends on speed, distance and light. Keep important clips backed up before the loop overwrites them.
None of this is hard — it’s a two-minute check, not a hurdle. A plug-in fit on the windscreen behind the mirror keeps you on the right side of all of it.
Install questions, answered.
The things people ask before fitting their first dash cam.
Do I need a professional to install it?
No, not for a plug-in fit. It mounts behind the mirror and plugs into the 12V socket in about ten minutes. You only need an installer if you want it hardwired for parking mode and you’d rather not touch the fuse box.
How long does it actually take?
A plug-and-play install is genuinely 10–15 minutes. Hardwiring for 24/7 parking mode takes 20–30 minutes, mostly spent finding and tapping the right fuse.
Will it drain my car battery?
Plugged into the 12V socket, no — it only runs when the socket is live. Hardwired, the kit includes a low-voltage cut-off that stops recording before your battery drops too low to start the car.
Do I need a memory card, and what size?
Yes — a microSD card is required and isn’t always in the box. A Class 10 card of 64–128GB is the sweet spot for loop recording in 4K; use the calculator above to match a size to how much history you want to keep. Format it in the camera before first use.
Can I move it between cars?
A plug-in fit, yes — unplug it, peel or pop the mount, and refit it in minutes. Keep a spare sticker for the second car. A hardwired install is tied to that vehicle’s fuse box, so it’s less portable.
It won’t record or the card isn’t recognised — what now?
Almost always the card. Re-seat it, make sure it’s Class 10 and within the supported size, and format it in the camera (not a PC). If a clip won’t save, the card may be worn — they don’t last forever, so swap it.
Will installing it damage my car or affect warranty?
A plug-in fit leaves no trace — nothing is cut or drilled. Tucking the cable into trim is reversible. Hardwiring connects to a spare fuse and is also reversible, but if you’re unsure, have it done professionally.
Where exactly should I mount it?
High and central, just behind the rear-view mirror, inside the area your wipers clear. That gives the widest road view, keeps the camera out of your sightline, and stays within most local placement rules.
Choose your setup
One camera. Three levels of protection.
Start front-only for the simplest plug-in fit, add the rear camera for full coverage, or go Full Protection with the hardwire-ready 24/7 parking kit.
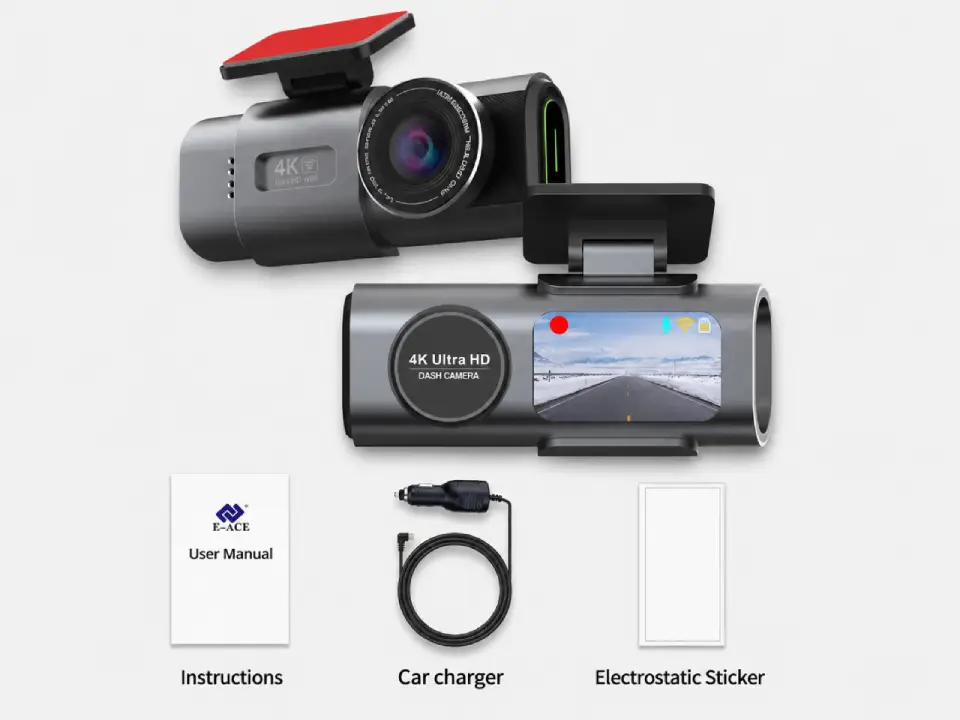
Standard
Package contents
- Front camera
- Car connection cable
- Magnetic sticker
Most popular
Dual Cameras
Package contents
- Everything in Standard
- Sony rear camera
- 6-meter connection cable
Full Protection
Package contents
- Everything in Dual Cameras
- 24h-compatible battery
- Live view from parked car
Free Shipping
5–10 days across Europe
Secure Payment
Apple Pay · PayPal · Stripe
2-Year Warranty
Full hardware coverage
30-Day Return
No questions asked
Fitted in minutes
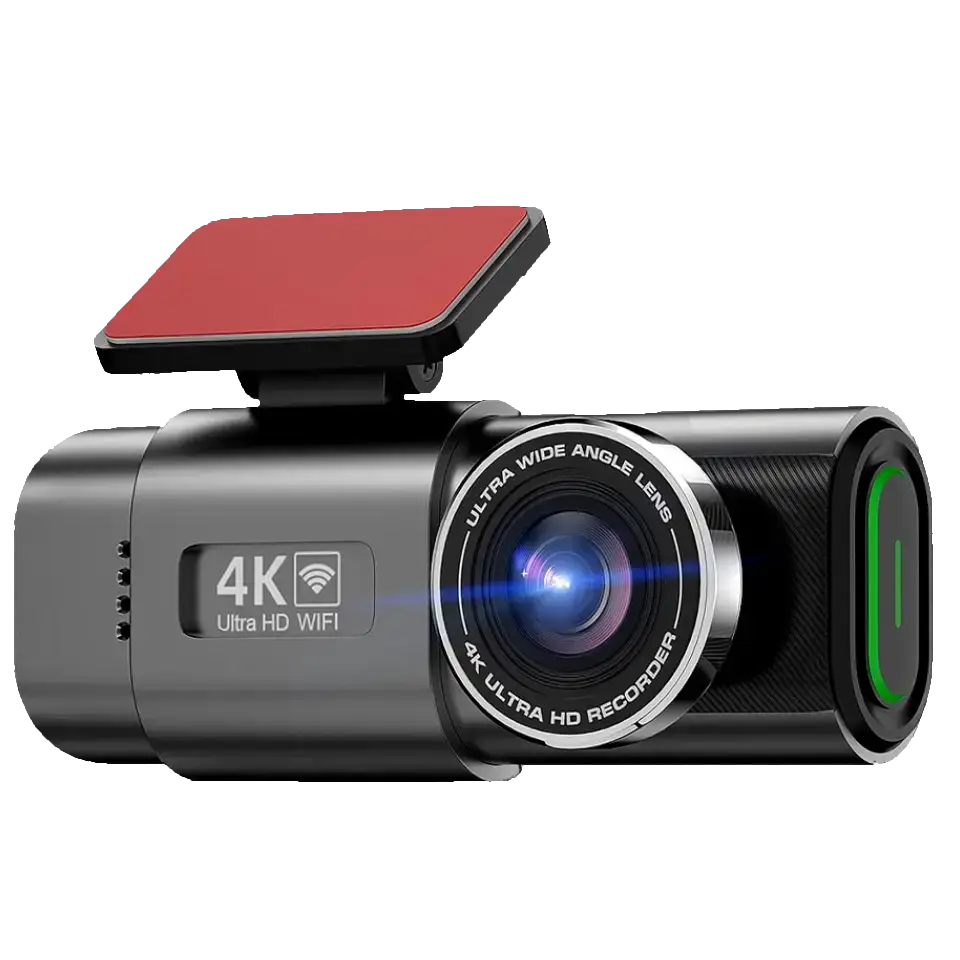
Unbox it today. Protected by tonight.
The Dashline 4K is built for a plug-in fit — behind the mirror, into the socket, recording. Free EU shipping, 2-year warranty, 30-day returns.

Leave a Reply